Table of Contents
- Quick Overview: The 5-Step Formula
- Why Pantry Organization Matters
- Assessing Your Pantry Layout
- Step-by-Step Pantry Organization Guide
- The 5-Zone Pantry Blueprint
- Container Material Comparison
- Pro Strategies for Tough Spaces
- Mistakes That Ruin Pantry Systems
- Long-Term Maintenance System
- Essential Organization Tools
- Related Home Organization Guides
- Authority Food Safety References
- Key Takeaways
- Frequently Asked Questions
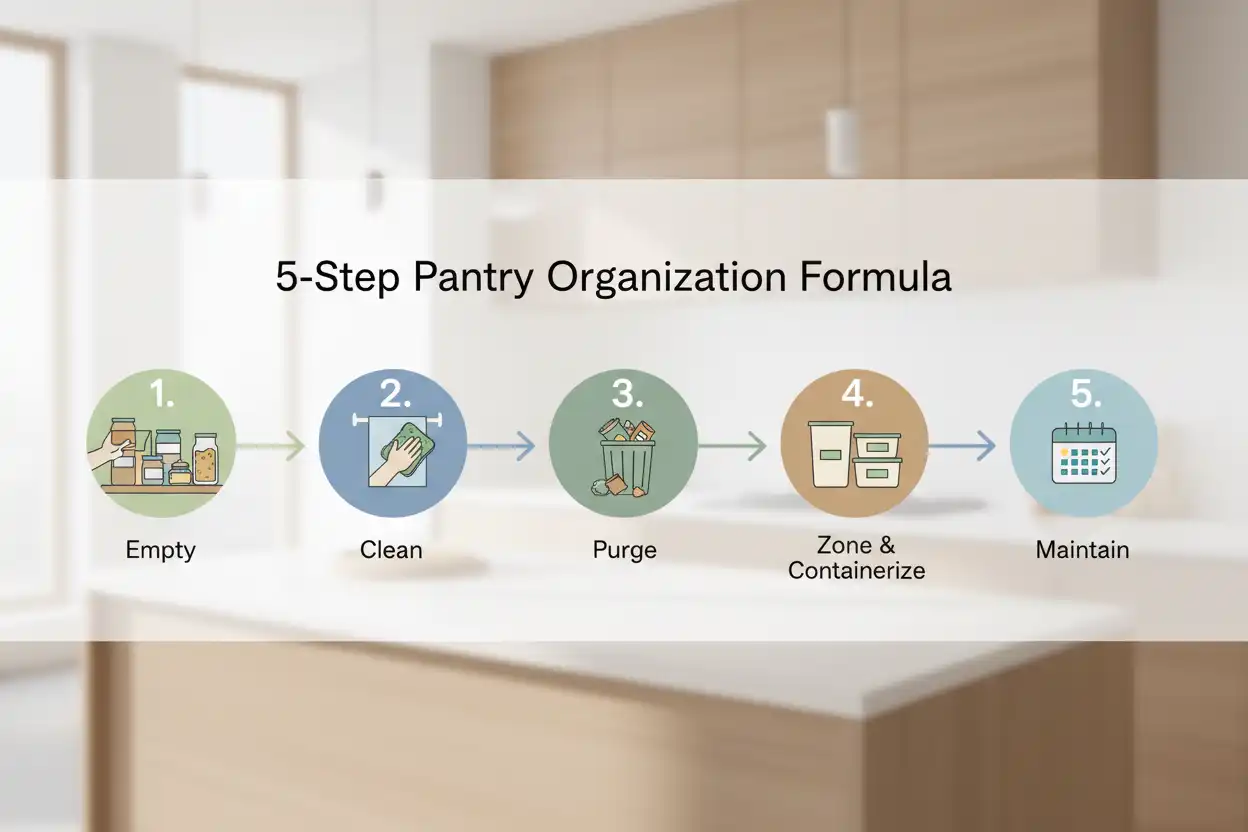
How to Organize a Kitchen Pantry in 5 Core Steps
Organizing a kitchen pantry requires a systematic approach based on accessibility and inventory visibility. Following a structured order ensures long-term functionality rather than temporary visual neatness.
Execute these five core steps to transform your pantry space:
- Empty & Clean: Remove every item, wipe down shelves, and vacuum corners.
- Purge: Discard expired goods, donate unopened unwanted items, and group remaining inventory.
- Establish Zones: Assign shelf zones based on item usage frequency and weight.
- Containerize & Label: Transfer bulk goods into clear airtight containers and add visible labels.
- Maintain: Implement a first-in, first-out stock rotation system during weekly grocery runs.
Why Functional Pantry Organization Matters
A cluttered kitchen pantry causes frustration, duplicate grocery purchases, and unnecessary food waste. When items hide behind oversized boxes, ingredients spoil long before you use them.
This guide offers a practical, reliable blueprint for every pantry type. Whether managing a deep walk-in closet or narrow cabinet pull-outs, these methods streamline meal prep and daily routines.
You will learn how to measure space, choose functional containers, build intuitive zones, and maintain order effortlessly over time.
Assessing Your Pantry Layout
Every home presents unique structural storage constraints. Identifying your specific pantry category determines the visual strategy and container hardware you need.
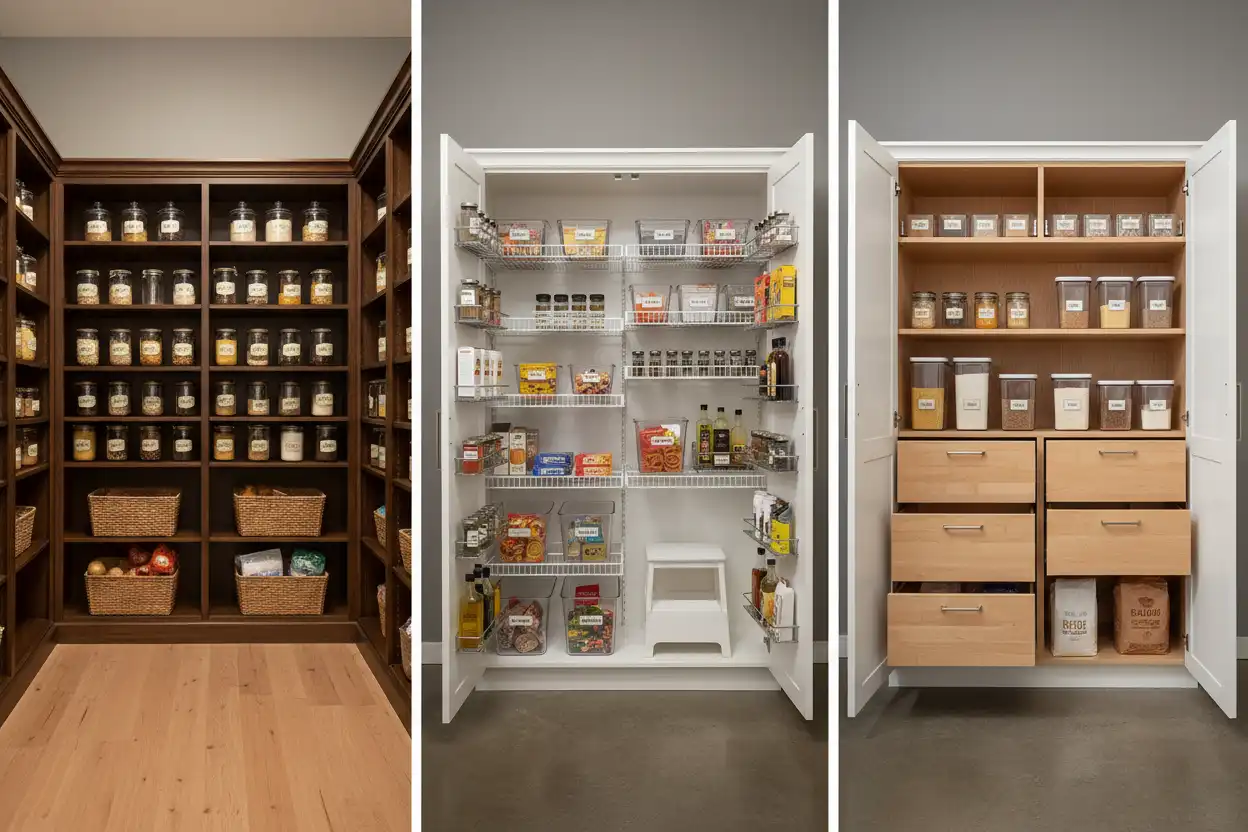
1. Walk-In Pantries
Walk-in pantries offer abundant vertical and corner storage depth. The main challenge is preventing deep corner shelves from turning into chaotic clutter zones.
2. Reach-In Wall Pantries
Reach-in closets feature shallow or deep straight shelves behind standard doors. Success here relies heavily on vertical layering and door-mounted organizer racks.
3. Cabinet and Pull-Out Pantries
Narrow cabinet pantries require pull-out drawers, tiered risers, and slide-out baskets. These mechanical inserts bring back-row ingredients directly into full view.
Step-by-Step Pantry Organization Guide
Follow this exact chronological process to achieve lasting order in your kitchen pantry.
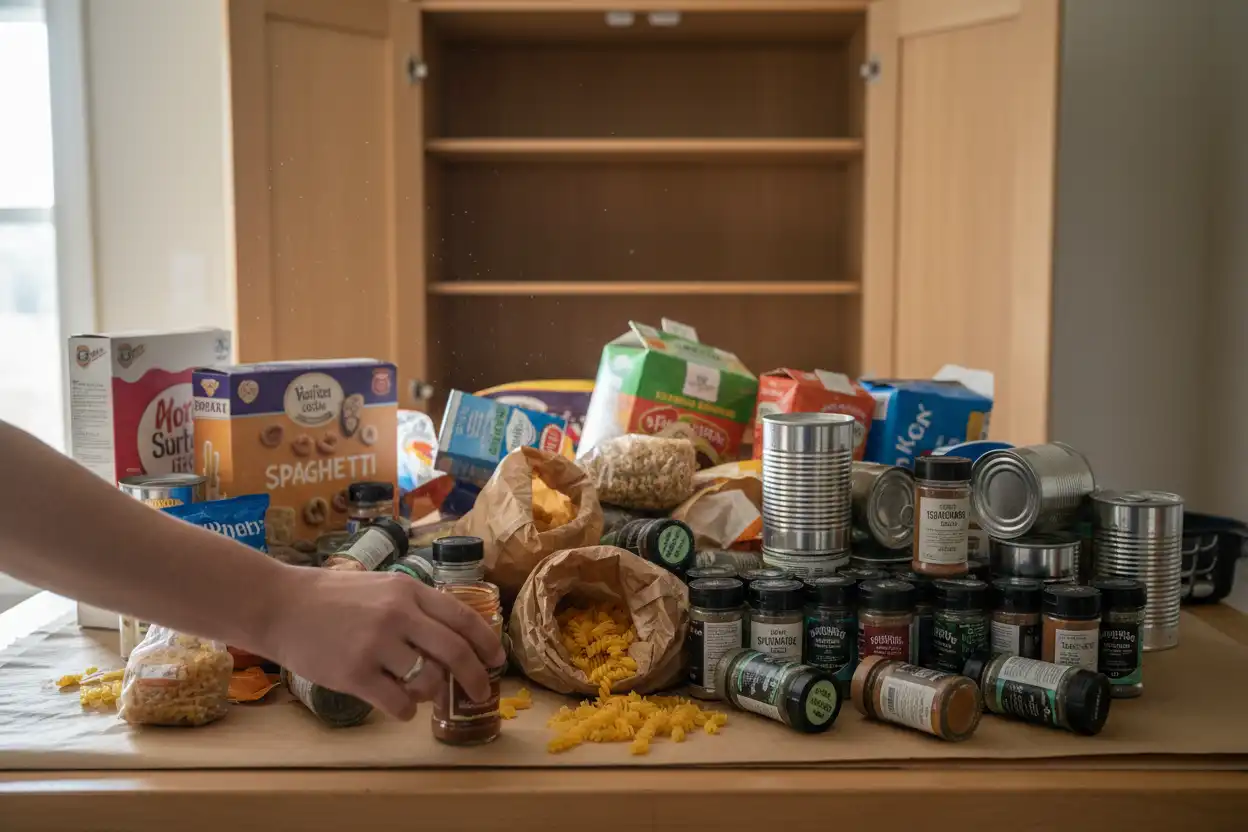
Step 1: Complete Evacuation and Inventory
Clear off your dining table or kitchen counters completely. Remove every container, bag, and box from every shelf in the pantry.
Why: Partial organization fails because hidden items remain uncounted. Full evacuation reveals true inventory volume and space dimensions.
How: Group items loosely on counters as you pull them out (e.g., canned goods together, baking supplies together).
Pro Tip: Line your kitchen counters with clean towels or butcher paper to protect surfaces from sticky oil bottles and loose flour dust.
Common Mistake: Leaving items on top shelves because they look neat. Empty everything without exception.

Step 2: Deep Cleaning and Surface Protection
Vacuum up dry crumbs, spice dust, and loose sugar from shelf corners. Wipe all surfaces down with a warm water and mild dish soap solution.
Why: Spilled grain or sweet liquids attract pantry moths and ants. Clean surfaces prevent pest infestations.
How: Dry shelves thoroughly before adding removable, wipeable shelf liners to catch future drips and scuffs.
Pro Tip: Use washable non-adhesive shelf liners. They stay flat without leaving sticky residue when replaced.
Common Mistake: Placing paper boxes directly on damp, freshly washed wood shelves, causing warping or mold.
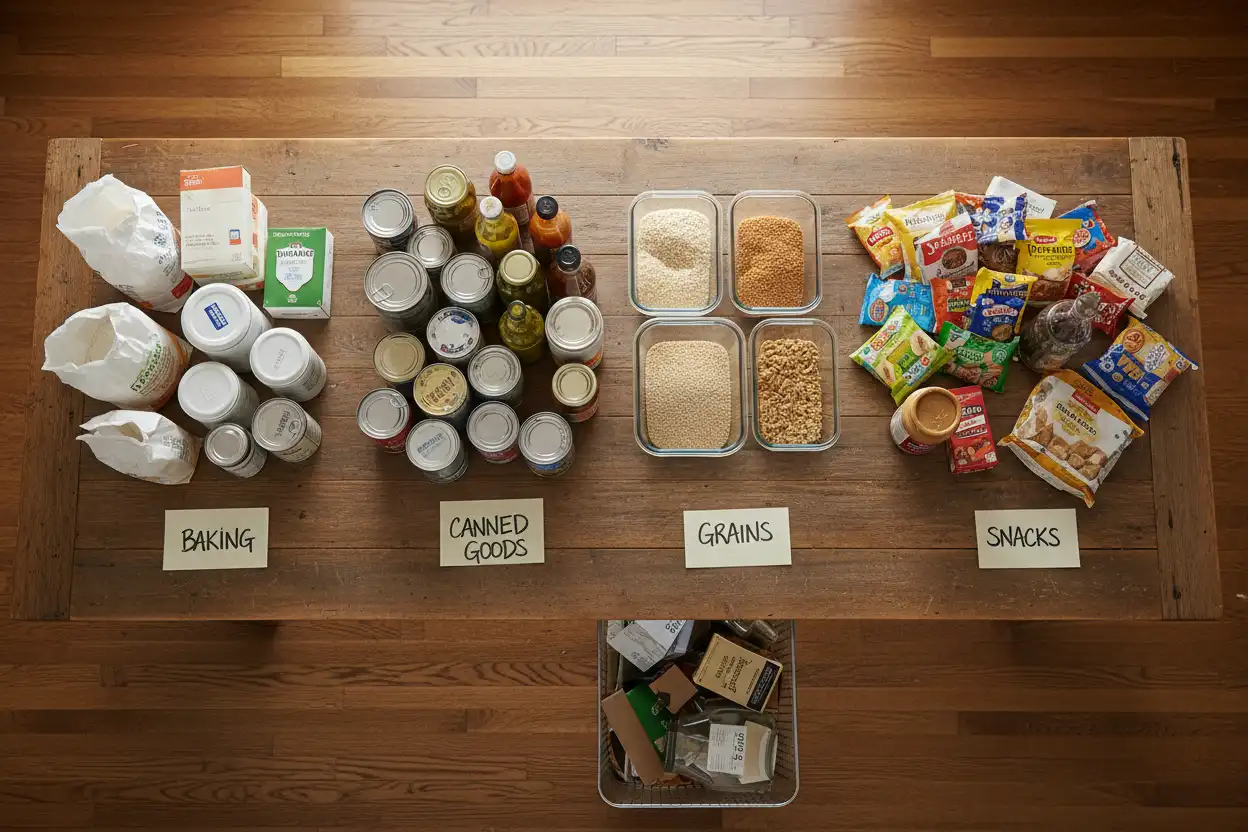
Step 3: Ruthless Purging and Category Sorting
Examine expiration dates on every bottle, can, and spice jar. Toss expired items and set aside unexpired, unopened items you know you will not eat for food bank donation.
Why: Storing unwanted food wastes valuable shelf space and obscures fresh inventory.
How: Create strict category piles: Baking, Breakfast, Grains & Pasta, Canned Goods, Snacks, Oils & Vinegars, and Spices.
Pro Tip: Combine duplicate opened bags of identical ingredients (like two half-empty bags of white rice) into single containers.
Common Mistake: Keeping stale spices or old flour out of guilt over original purchase price.

Step 4: Zone Mapping and Container Selection
Assign specific shelf levels to your sorted inventory categories based on weight and daily usage frequency.
Why: Random placement causes daily chaos. Zone placement makes locating ingredients instantaneous for every household member.
How: Measure shelf heights and depths before purchasing clear, stackable storage bins or decanting canisters.
Pro Tip: Buy modular square or rectangular containers rather than round ones to maximize total shelf footprint.
Common Mistake: Buying storage containers before taking physical measurements of your actual shelf height.
Step 5: Decanting, Labeling, and Stocking
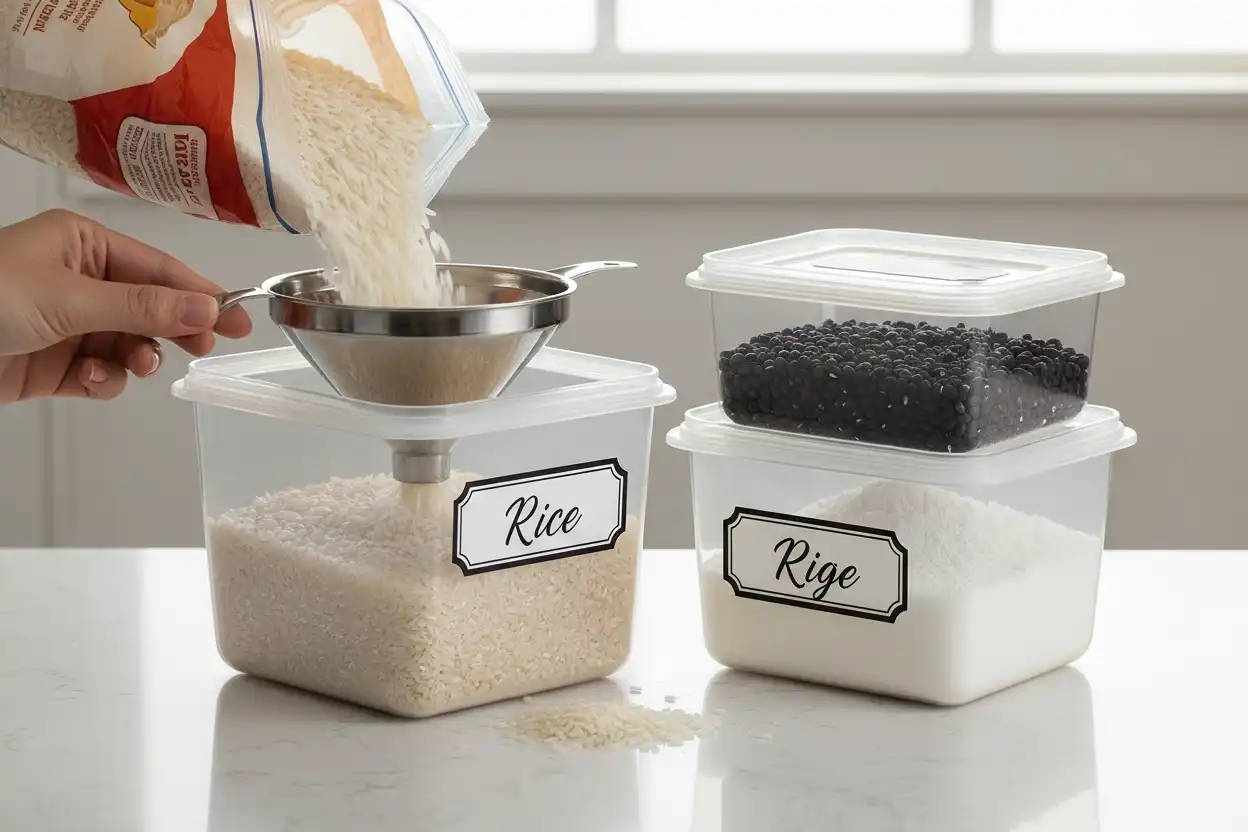
Transfer high-frequency bulk staples into clear airtight containers. Attach bold, legible labels stating the food name and expiration date.
Why: Decanting removes visual clutter from commercial packaging and seals out air, moisture, and pests.
How: Cut instruction labels or cook times off original boxes and tape them to the back of decanted canisters.
Pro Tip: Write expiration dates on the bottom of containers using a washable chalk marker or grease pencil.
Common Mistake: Decanting items you rarely use, which wastes time and increases cleanup work.
The 5-Zone Pantry Blueprint
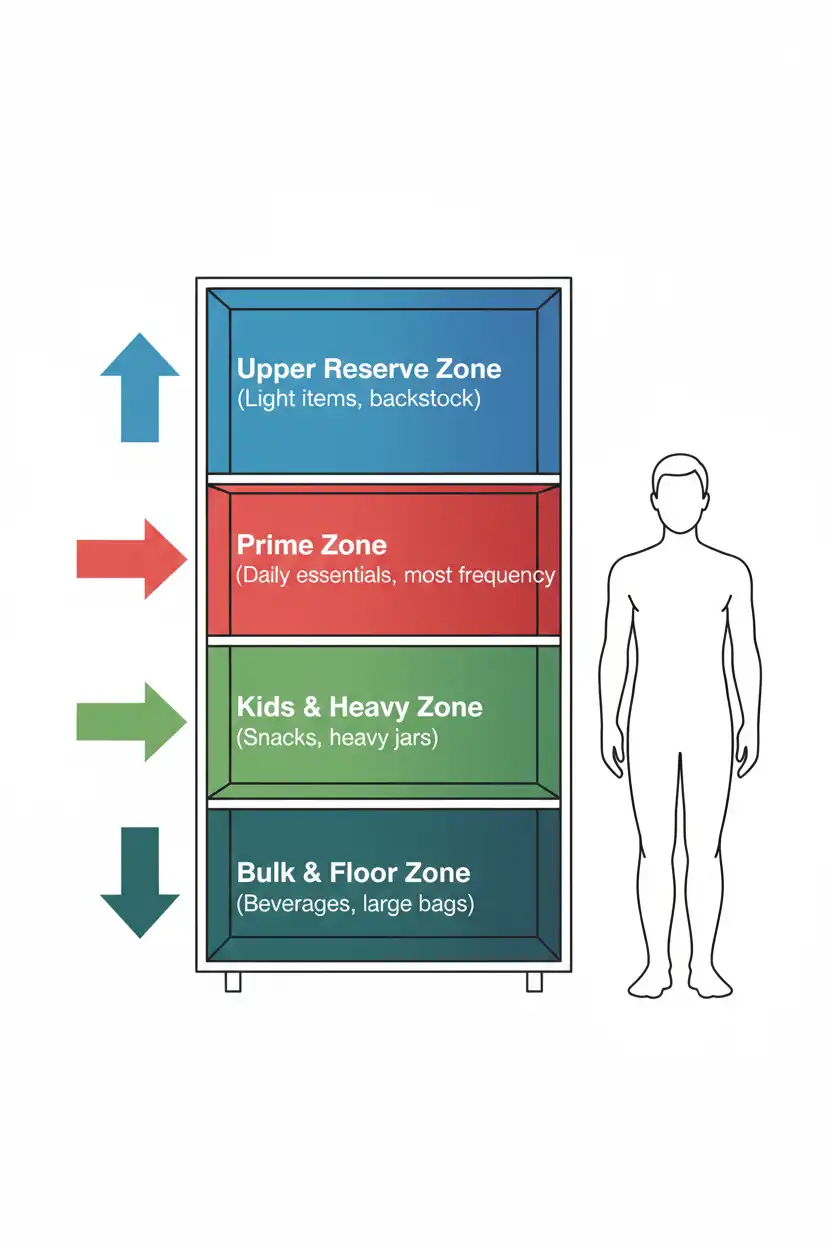
Positioning ingredients at appropriate heights ensures physical safety and daily efficiency.
| Pantry Zone | Shelf Location | Recommended Items | Key Benefit |
|---|---|---|---|
| Prime Zone | Eye Level (Chest to Eye) | Daily cooking staples, dinner grains, frequently used snacks | Fastest access without bending or reaching |
| Kid & Heavy Zone | Waist Level to Knee Level | School snacks, canned goods, appliances, oil bottles | Prevents heavy item drops; allows self-serve kids snacks |
| Bulk & Floor Zone | Floor & Lowest Shelf | 50lb grain bags, beverage crates, paper towels, recycling | Safely supports maximum weight loads |
| Upper Reserve Zone | Above Eye Level | Lightweight items, backstock overflow, party supplies | Keeps rare items accessible via step stool |
| Door & Corner Zone | Door Backs & Deep Corners | Spices, foil rolls, small sauce jars, condiments | Reclaims zero-clearance dead space |
Pantry Container Material Comparison
Selecting the correct container material balances durability, visibility, and food protection.
| Material | Best Used For | Pros | Cons |
|---|---|---|---|
| Clear BPA-Free Plastic | Cereal, pasta, flour, family snacks | Lightweight, shatterproof, crystal clear visibility | Can scratch over time; susceptible to oil stains |
| Glass Jars & Canisters | Rice, beans, sugar, dry spices, liquids | Non-porous, stain-resistant, absolute airtight seal | Heavy; can break if dropped by young children |
| Wire Baskets | Potatoes, onions, root veggies, bagged snacks | Max airflow, highly durable, industrial style | Small items fall through grid; leaves crumbs on shelf |
| Woven Fabric & Hyacinth Bins | Backstock items, paper goods, linen napkins | Hides visual clutter, adds warm texture | Cannot see contents without pull-out; hard to sanitize |
Pro Strategies for Tough Spaces
Advanced organizational strategies solve structural challenges like extra-deep shelves, narrow alcoves, and high humidity.
Taming Extra-Deep Shelves
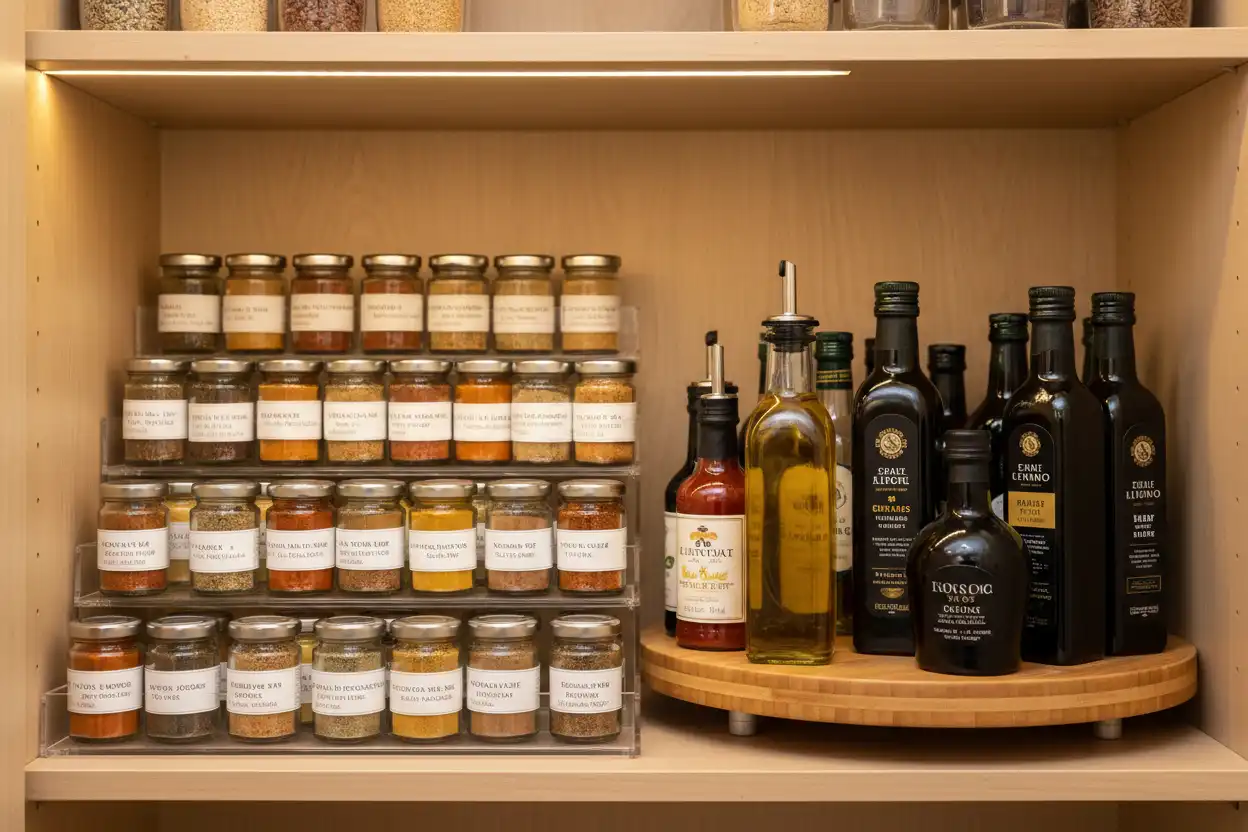
Deep shelves frequently cause lost inventory behind front-row items. Install clear, pull-out storage drawers or deep bins with built-in handles that act as sliding drawers.
Place Lazy Susans in deep corners. Rotating the turntable brings items from the back directly to the front without knocking over surrounding jars.
Managing High-Humidity Environments
Humidity causes clumping in sugar, spices, and baking powder. Choose containers featuring silicone gasket seals and mechanical locking latches.
Place food-grade silica gel desiccant packs inside sugar bins or dry spice jars to absorb excess ambient moisture.
Kid-Friendly Snack Accessibility
Designate a dedicated snack bin on a low shelf reachable for children. Unbox individual granola bars, fruit pouches, and pretzel bags into open, clear bins.
This encourages independence while maintaining control over appropriate snack portions.
Mistakes That Ruin Pantry Systems
Avoid these frequent pitfalls to keep your newly organized pantry functional over time.
1. Buying Storage Containers First
Purchasing cute containers before measuring shelf dimensions leads to mismatched bins and wasted storage space. Always measure height, width, and depth first.
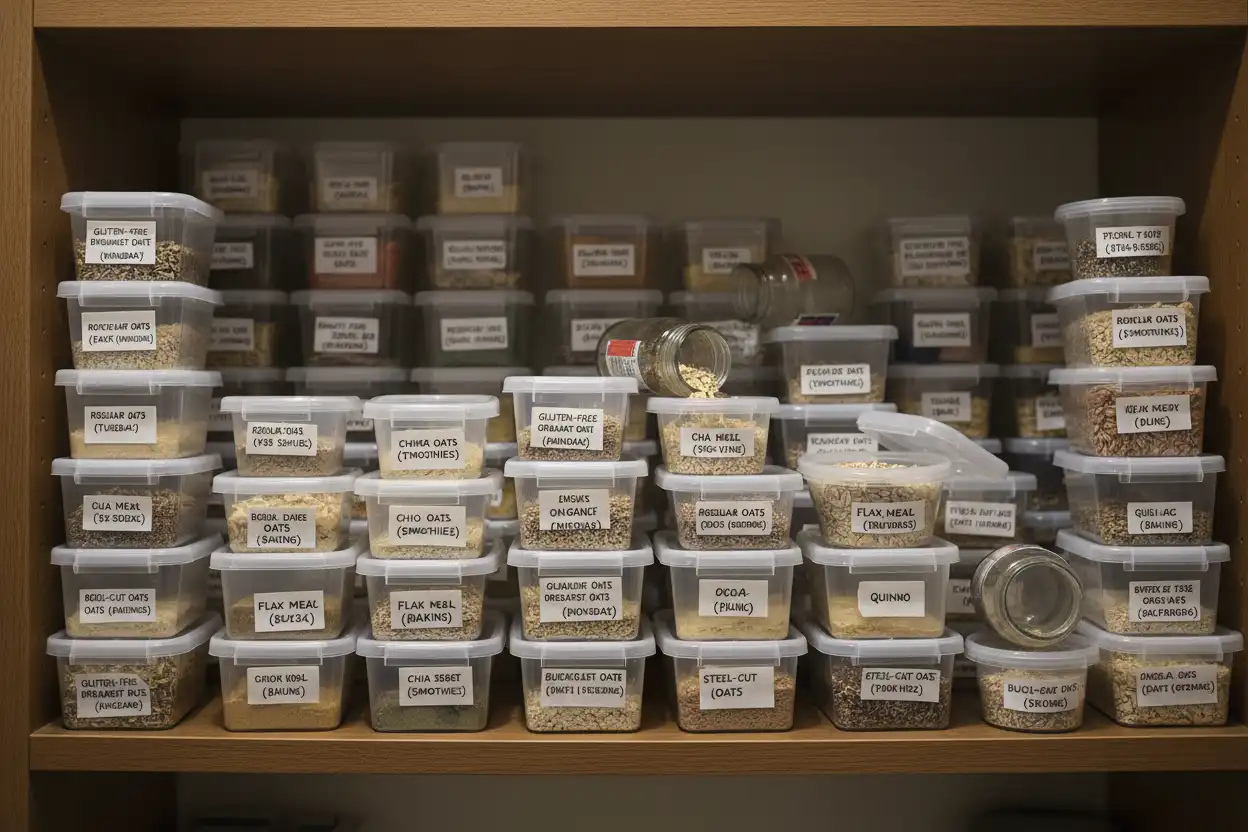
2. Over-Categorizing Bins
Creating micro-categories like “Gluten-Free Oats” instead of “Grains” makes long-term sorting tedious. Keep category broadness aligned with your daily routines.
3. Decanting Without Expiration Dates
Pouring dry food into canisters without recording original expiration dates leads to spoiled food. Use removable chalk markers on container bases.
4. Storing Potatoes and Onions Together
Onions release ethylene gas, causing nearby potatoes to sprout and spoil rapidly. Store these raw vegetables in separate, well-ventilated wire baskets.
Long-Term Pantry Maintenance System
Maintaining organization requires simple habits rather than major overhauls.
The 5-Minute Daily Reset
Return cooking ingredients to their designated zones immediately after meal preparation. Teach family members to respect labeled zone boundaries.
The 15-Minute Pre-Grocery Audit
Check your primary shelf zones before writing weekly grocery shopping lists. This quick audit prevents buying duplicate items you already own.
The First-In, First-Out (FIFO) Rule
When restocking groceries, move older items to the front row and place fresh packages behind them. This practice keeps ingredients fresh and reduces waste.
Essential Organization Tools
Investing in reliable organizational hardware makes keeping order significantly easier.
- Clear Airtight Canisters: Protects dry goods and offers instant visual inventory counts.
- Tiered Can Risers: Elevates back-row canned items so labels remain readable.
- Turntables (Lazy Susans): Solves accessibility issues in deep shelf corners.
- Over-the-Door Wire Racks: Converts unused door space into valuable condiment storage.
- Label Maker or Chalk Markers: Ensures clear, legible identification across all bins.
Related Home Organization Guides
Explore our related step-by-step guides to streamline your kitchen and home storage spaces:
- How to Organize Kitchen Cabinets for Maximum Efficiency
- 25 Brilliant Small Kitchen Storage Ideas
- The Step-by-Step Refrigerator Organization Blueprint
- The Ultimate Kitchen Decluttering Checklist
- 10 Smart Spice Rack Organization Systems
Authority Food Safety References
For additional authoritative guidance on food storage safety and shelf life guidelines, consult these official public health resources:
- FoodSafety.gov — Official Federal Food Safety Information
- USDA Food Safety and Inspection Service — Shelf-Stable Food Safety Guidelines
Key Takeaways
- Empty the entire pantry before cleaning, sorting, or purchasing containers.
- Group items by functional usage category rather than brand or package shape.
- Assign eye-level shelf space to daily cooking essentials and high-frequency items.
- Choose square or rectangular clear containers to maximize available shelf space.
- Use the FIFO (First-In, First-Out) method during weekly grocery restocking.
Start Your Pantry Transformation Today
Organizing your kitchen pantry yields daily time savings and reduces monthly food expenses. By building a clear zone system, you create an efficient routine that lasts.
Pick one shelf to evacuate today, apply these zoning rules, and expand across your entire pantry step by step.
Frequently Asked Questions
How do I organize a pantry on a tight budget?
You can organize a pantry affordably by repurposing shoeboxes, plastic tubs, and mason jars you already own. Focus first on clearing out expired goods and grouping items into clear zones. Use masking tape and a permanent marker for crisp, budget-friendly labels.
What items should not be stored in a pantry?
Avoid storing perishable items, nuts that spoil quickly, and unsealed liquid sauces in the pantry. Keep raw potatoes away from onions to prevent premature sprouting. Store opened wine, flax seeds, and delicate oils in the refrigerator to extend shelf life.
How do I organize a very small, deep pantry?
Use clear pull-out bins with handles that function like slide-out drawers on deep shelves. Install Lazy Susan turntables in corners to bring back-row items into view. Add over-the-door hanging wire racks to store small jars, spices, and foil rolls efficiently.
Is decanting dry food into containers really necessary?
Decanting is essential for bulk dry items like flour, rice, sugar, and pasta because it seals out humidity and pests. It also eliminates visual clutter from mismatched cardboard boxes. However, decanting non-essential snack bags or rare ingredients is unnecessary and wastes time.
How do I keep my pantry organized with children?
Create a dedicated, low-level snack zone using open, clear bins that kids can reach without help. Group individual snacks into pre-apportioned containers. Use visual image labels alongside written words so younger children know where to return items independently.
How often should I clean out and organize my pantry?
Perform a quick 5-minute reset daily after cooking, and audit your shelves weekly before grocery shopping. Schedule a full pantry purge twice a year—ideally during spring cleaning and before holiday baking season—to inspect expiration dates and deep clean shelf liners.